From Fedora Project Wiki
Zoltanh721 (talk | contribs) |
Zoltanh721 (talk | contribs) |
||
| Line 19: | Line 19: | ||
* Step 5: (optionally) - folding the flap corners | * Step 5: (optionally) - folding the flap corners | ||
[[File:hajtogatas-005.png|step5]] | [[File:hajtogatas-005.png|step5]] | ||
* Step 6: | * Step 6: fold small corners at the upper flap, this will tighten the closing, and makes easier to put inside the opposite flap | ||
[[File:hajtogatas-006.png|step6]] | [[File:hajtogatas-006.png|step6]] | ||
* Step 7 | * Step 7: | ||
[[File:hajtogatas-007.png|step7]] | [[File:hajtogatas-007.png|step7]] | ||
* Step 8 | * Step 8 | ||
[[File:hajtogatas-008.png|step8]] | [[File:hajtogatas-008.png|step8]] | ||
Revision as of 18:41, 1 July 2012
Foldable/origami sleeves for emergency cases - Folding instructions
Preparation, and necessary tools
- All you need is just the one side A4 printed pages, some time and clean hands. No scissors, or glue are necessary - only as we demonstrate here, for closing the sleeve is optionally you can use some adhesive tape.
- Not all folding steps are necessary, because if you folded at side, you can contiue with the bottom part, and simply close the flap into the down part of the sleeve. Additional steps are necessary if you would like to keep the sleeve tight.
Necessary steps to get an folded sleeve
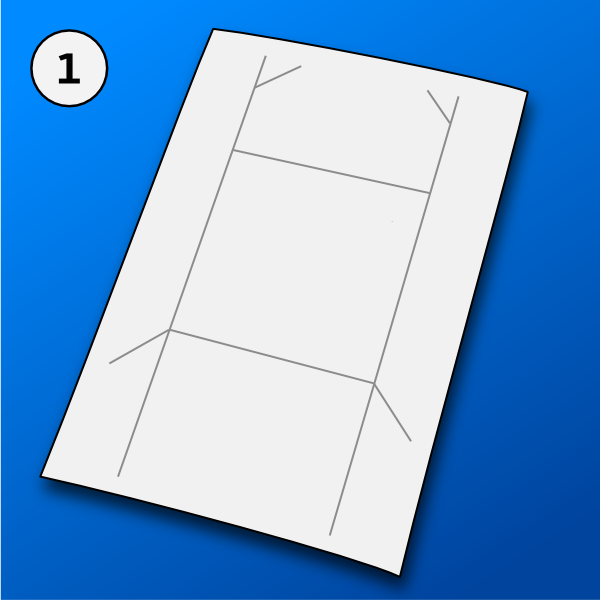
- Step 1: Lay back the sheet
- Step 2: Fold in the sides, not more as the graphics
- Step 3: Fold the down flap - this will hold the upper closing flap
- Step 4: (optionally) - bending the corners
- Step 5: (optionally) - folding the flap corners
- Step 6: fold small corners at the upper flap, this will tighten the closing, and makes easier to put inside the opposite flap
- Step 7:
- Step 8


